 Presentation-software techniques
Presentation-software techniques
Presentation-software techniquesThe following sections present the basics of creating a presentation using LibreOffice/OpenOffice Impress.

Right click on the OpenOffice.org Quickstarter, select
Presentation.
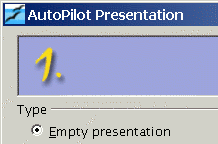
In window 1 of the AutoPilot,
Empty
       presentation
is selected, and
Next >>.
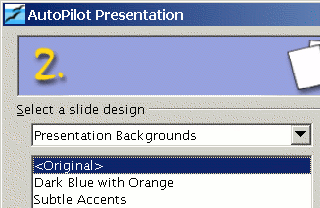
In window 2 of the AutoPilot,
Presentation
       Backgrounds
is selected,
<Original> (for
an initially empty background),
Screen, and
Next >>.
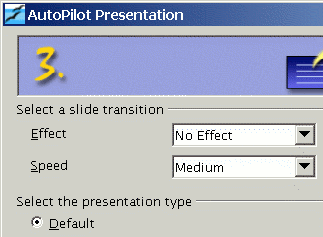
In window 3 of the AutoPilot,
Default, and
Create.

In the Modify Slide dialogue box which comes up,
Title Slide layout,
OK.
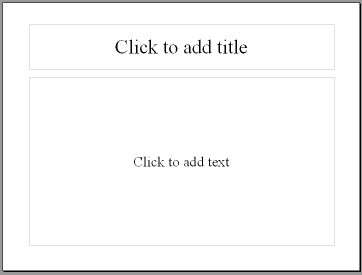
In the slide that is displayed,
Create a second slide by selecting Insert ![]()
Slide.
In the Insert Slide dialogue box which comes
up (similar to the earlier Modify Slide dialogue box),
OK.


To modify the background to be used for all slides,
Select View ![]()
Master ![]()
Slide Master.
For example,
click on the Ellipse tool at the left, and draw an ellipse in
the slide. Click on the Text tool at the left, click somewhere in the
slide, and type some text (e.g., the date).
To see the effect of changing the background,
select View ![]()
Normal.
To globally modify the appearance of text,
make sure the Styles and Formatting box is displayed.
If it’s not,
select Format ![]()
Styles and Formatting to display it.
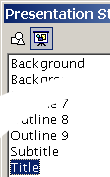
Display the Presentation Styles by clicking on the second
icon at the upper left.
Right click on Title and click
on the Modify button that pops up.
In the dialogue box that
pops up, change one of the
text attributes, then click on OK.

Last modified: 2020-05-10 11:59:31